Running a batch job
Overview
Teaching: 15 min
Exercises: 0 minQuestions
How do I run my computations on a compute node on the background?
Objectives
PBS scripts,
qstat,checkqueuecfg,nano
Interactive jobs are great if you need to do something quick, or perhaps visualize some data. If you have some code which runs for seven hours, interactive jobs are not a great idea. Please keep in mind that an interactive job gets killed if you close the SSH connection. So for example, you connect to Palmetto from your laptop, start an interactive job, but then your laptop runs out of battery power and you can’t find your charger. SSH client quits, and your interactive job is killed.
If you have some truly serious, multi-hour computation project (and that’s what Palmetto is really good for), a better idea is to run it on the background. This is called a batch job. You submit it in a fashion which is conceptually similar to an interactive job, but then it runs on the compute node on the background until it’s over. If it needs to take two days, it takes two days. You can quit the SSH client or close your laptop, it won’t affect the batch job.
To submit a batch job, we usually create a separate file called a PBS script. This file asks the scheduler for specific resources, and then specifies the actions that will be done once we get on a compute node.
Let us go through an example. We will use batch mode to create a small random matrix with normally-distributed values. We will create two scripts: an R script which does the computation, and a PBS script which will execute the R script on a compute node in batch mode.
Palmetto has a simple text editor which is called nano. It doesn’t offer any fancy formatting, but it suffices for ceating and editing simple texts. Let’s go to our home directory and create the R script:
cd
nano randmatrix.r
This will open the nano text editor:
![]()
Inside the editor, type this:
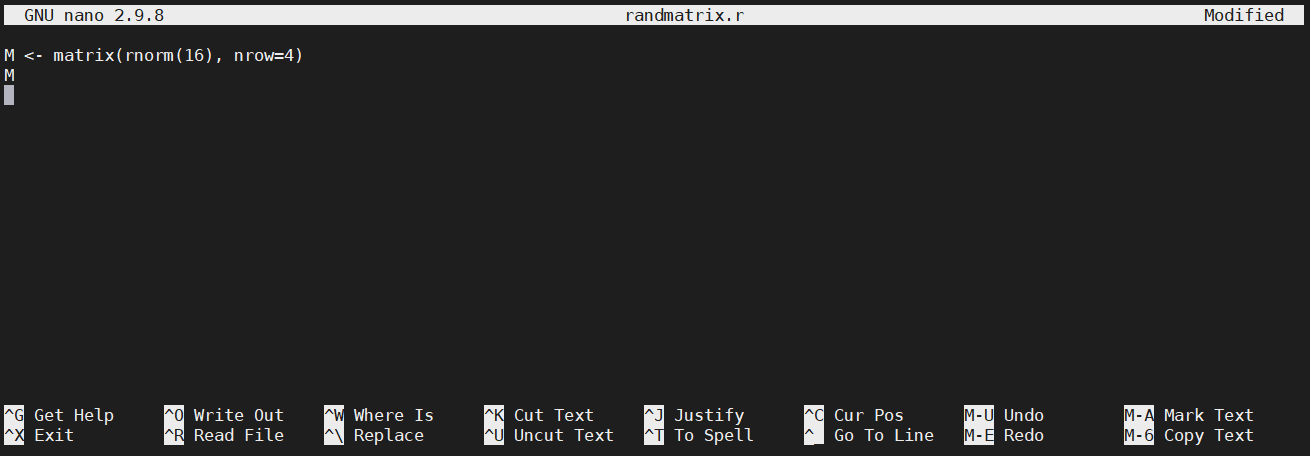
M <- matrix(rnorm(16), nrow=4)
M
Instead of typing, you can copy the text from the Web browser and paste it into nano. Windows users can paste with Shift+Ins (or by right-clicking the mouse). Mac users can paste with Cmd+V. At the end, your screen should look like this:
To save it, press Ctrl+O, and hit enter. To exit the editor, press Ctrl+X. To make sure the text is saved properly, print it on screen using the cat command:
cat randmatrix.r
Now, let’s create the PBS script:
nano randmatrix.sh
Inside the nano text editor, type this (or paste from the Web browser):
#!/bin/bash
#
#PBS -N random_matrix
#PBS -l select=1:ncpus=10:mem=10gb
#PBS -l walltime=0:20:00
#PBS -q skystd
#PBS -o random_matrix.txt
#PBS -j oe

cd $PBS_O_WORKDIR
module load r/4.0.2-gcc/8.3.1
Rscript randmatrix.r
Let’s go through the script, line by line. The first cryptic line says that it’s a script that is executed by the Linux shell. The next line is empty, followed by five lines that are the instructions to the scheduler (they start with #PBS):
-Nspecifiies the name of the job;- the first
-lline is the specification of resources: one node, ten CPUs, ten Gb of RAM, 1g interconnect; - the second
-lline is the amount of walltime (twenty minutes); -qspecifies the name of the queue;-ospecifies the name of the output file where the Matlab output will be printed;-j oemeans “join output and error”, which is, if any errors happen, they will be written intorandom_matrix.txt.
The rest is the instructions what to do once we get on the compute node that satisfies the request we provided in -l: go to the directory from which you have submitted qsub, load the R module, and execute the R script called randmatrix.r that we have created. Save the PBS script and exit nano (Ctrl+O, ENTER, Ctrl+X).
A very common question is how much walltime we should ask for. It’s a tricky question beause there is no way of knowing how much time you will need until you actually try it. My rule of thumb is: make a rough guess, and ask for twice as much.
Now, let’s submit our batch job!
qsub randmatrix.sh
We use the same command qsub that we have previously used for an interactive job, but now it’s much simpler, because all the hard work went into creating the PBS shell script randmatrix.sh and qsub reads all the necessary information from there. If the submission was successful, it will give you the job ID, for example:
632585.pbs02
We can monitor the job’s progress with the qstat command. This is an example to list all jobs that are currently executed by you:
qstat -u <your Palmetto username>
You should see something like this:
pbs02:
                                                            Req'd  Req'd   Elap
Job ID          Username Queue    Jobname    SessID NDS TSK Memory Time  S Time
--------------- -------- -------- ---------- ------ --- --- ------ ----- - -----
632585.pbs02    gyourga  skystd* random_matrix  24385*   1  10   10gb 00:20 R 00:00
You see the job ID, your Palmetto username, the name of the queue (more on that later), the name of the job (random_matrix), the resources requested (1 node, 10 CPUs, 10 gb of RAM, twnety minutes of walltime). The letter R means that the job is running (Q means “queued”, and F means “finished”), and then it shows for how long it’s been running (it basically just started).
Wait a little bit and do qstat again (you can hit the UP arrow to show the previous command). Elap time should now be a bit longer. The script should take five minutes or so to execute. If you enter qstat -u <your Palmetto username> and the list is empty, then congratulations, we are done!
If everything went well, you should now see the file random_matrix.txt. Let’s print it on screen:
cat random_matrix.txt
            [,1]        [,2]        [,3]      [,4]
[1,]  0.33798012 -0.12144303  0.28047223 0.3158535
[2,] -0.20359725  1.24607176 -0.04659389 0.6236961
[3,]  1.21438131 -0.33665263 -1.34250195 0.1748334
[4,] -0.01764249 -0.07867804 -0.74425883 0.7559597
Your matrix might be different because it’s a random matrix.
Another way to use qstat is to list the information about a particular job. Here, instead of -u, we use the -xf option, followed by the Job ID:
qstat -xf 632585
This will give you a lot of information about the job, which is really useful for debugging. If you have a problem and you need our help, it is very helpful to us if you provide the job ID so we can do qstat -xf on it and get the job details.
How many jobs can you run at the same time? It depends on how much resources you ask for. If each job asks for a small amount of resources, you can do a large amount of jobs simultaneously. If each job needs a large amount of resources, only a few of them can be running simultaneously, and the rest of them will be waiting in the queue until the jobs that are running are completed. This is a way to ensure that Palmetto is used fairly.
These limits of the number of simultaneous jobs is not carved in stone, but it changes depending on how much Palmetto is used at the moment. To see the current queue configuration, you can execute this command (note that it only works on the login node):
checkqueuecfg
You will see something like this:
1G QUEUES     min_cores_per_job  max_cores_per_job   max_mem_per_queue  max_jobs_per_queue   max_walltime
c1_solo                       1                  1             10000gb                1000      336:00:00
c1_single                     2                 24             30000gb                 250      336:00:00
c1_tiny                      25                128             51200gb                  50      336:00:00
c1_small                    129                512              8192gb                   2      336:00:00
c1_medium                   513               2048             16384gb                   1      336:00:00
c1_large                   2049               4096             32768gb                   1      336:00:00

IB QUEUES     min_cores_per_job  max_cores_per_job   max_mem_per_queue  max_jobs_per_queue   max_walltime
c2_single                     1                 40              4000gb                  10       72:00:00
c2_tiny                      41                200             16000gb                   5       72:00:00
c2_small                    201                512             12288gb                   2       72:00:00
c2_medium                   513               2048             16384gb                   1       72:00:00
c2_large                   2049               4096                 0gb                   0       72:00:00

GPU QUEUES     min_gpus_per_job   max_gpus_per_job  min_cores_per_job  max_cores_per_job   max_mem_per_queue  max_jobs_per_queue   max_walltime
gpu_small                     1                  4                  1                 96              2880gb                  10       72:00:00
gpu_medium                    5                 16                  1                256              4608gb                   3       72:00:00
gpu_large                    17                256                  1               2048              6144gb                   1       72:00:00

SMP QUEUE     min_cores  max_cores   max_jobs   max_walltime
bigmem                1         80          5      168:00:00

SKYLIGHT QUEUES   max_jobs   max_walltime
skystd_e             10      240:00:00
skylm_e               3      240:00:00
skygpu_e              5      240:00:00
The relevant information is the thre skylight queues at the bottom. Maximum walltime for Skylight users is 240 hours (10 days). Maximum number of jobs that can be executed in parallel is 10 for skystd, 3 for skylm, and 5 for skygpu. These numbers can be changed in future, so make sure you run checkqueuecfg once in a while to see if the limits have changed.
Key Points
batch jobs don’t require interaction with the user and run on the compute nodes on the background
to submit a batch job, users need to provide a PBS script which is passed to the scheduler
jobs are assigned to queues, according to the amount of requested resources
different queues have different limits on the walltime and the number of parallel jobs